The mopher modifier will be used to animate facial expressions for the head model. The head will be cloned and the vertices moved on them to create different facial expressions on each of the heads, these will then be linked to the morpher modifier so that they can be used to the animate the face.
I started by taking my head model and collapsing the modifier stack so that the symmetry and UVW unwrap modifiers were applied to the model. Applying the UVW unwrap modifier keeps the settings in the mesh and these can be got back by applying a unwrap UVW modifier again.
I turned off the turbosmooth modifier and cloned a series of heads to be used to create the different expressions that will be used with the morpher modifier.
I removed the turbosmooth modifiers from the cloned heads.
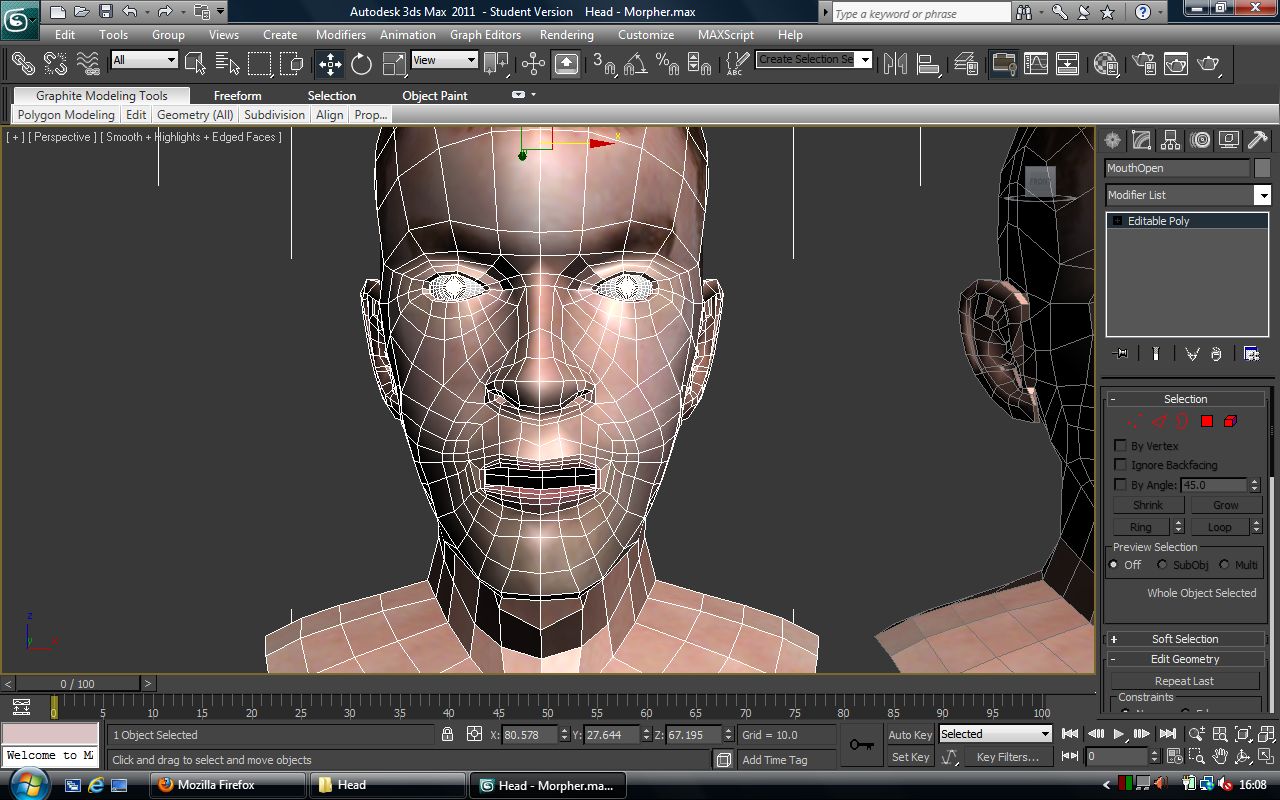
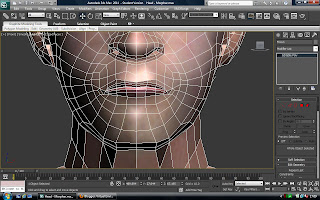
On the first head I decided to create the mouth open. I selected the polygons for the mouth and chin and moved it down. When using the morpher modifier you can’t change the amount of polygons, only move then about or it will not work.
On the next head closed the right eye. I selected the polygons for the bottom of the eye lid and then the top and positioned them so that the eye lid was closed.
I did the same on a different model for the other eye.
Now to apply the morpher modifier. I took the original head and added a morpher modifier below the turbosmooth.
I right clicked in one of the empty slots, selected pick from scene and then clicked on the first cloned head with the mouth open.
At the right of this is a box that can changed from 0-100. Changing this amount on will blend the effect of the mouth open model into the original model. This will allow the how much the mouth opens to be controlled.
The left and right eye opening was added in the same way. Now using the morpher modifier both the eye opening and mouth moving can be animated. They can be used at the same time or individually.
 |
| Brows up |
I cloned more heads from the original and adjusted them to create the left and right brows up, smile, frown, top lip up and bottom lip down. I added these to the morpher modifier in the same way.
 |
| Smile |
 |
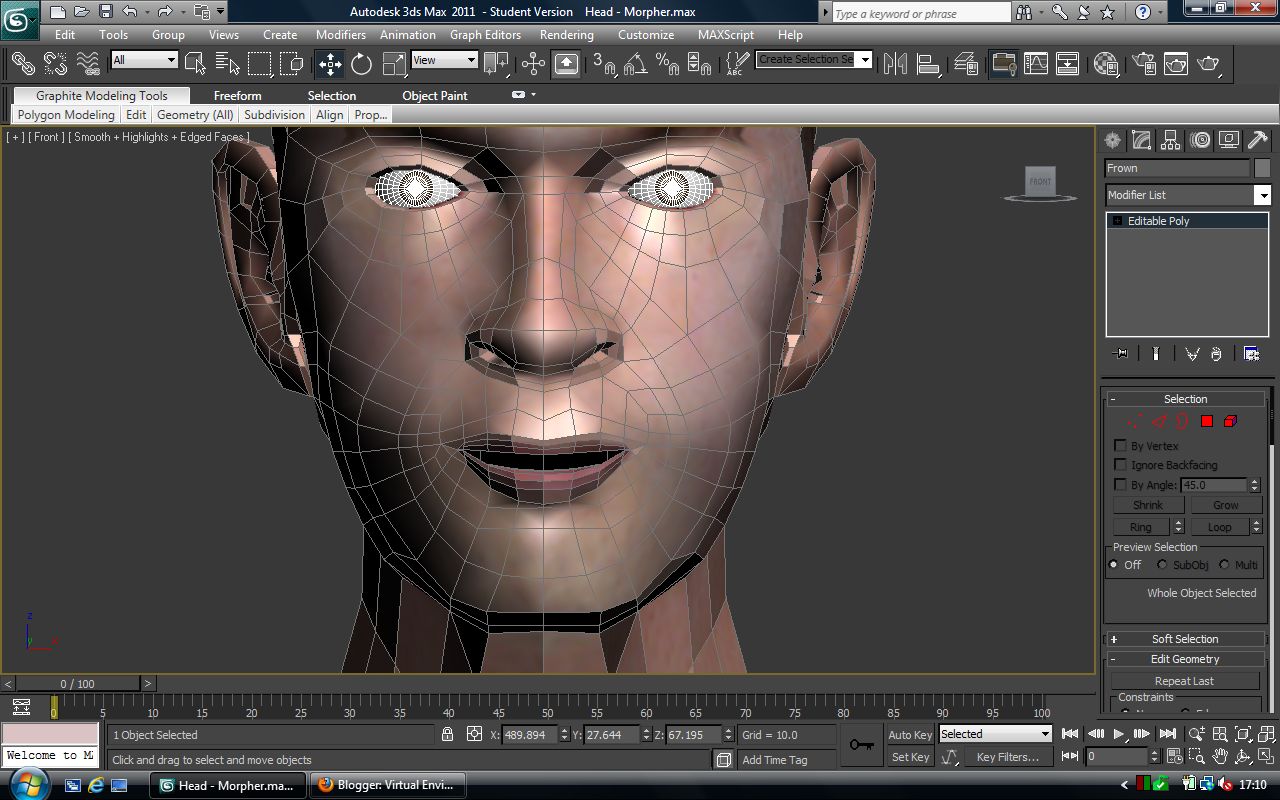
| Frown |
 |
| Top lip up |
 |
| Bottom lip down |
I decided that the mouth wasn't open enough so it increased this and reapplied it to the morpher.
I cloned another head to create a brows down expression this can be used with the frown morph created earlier.
 |
| Brows down |
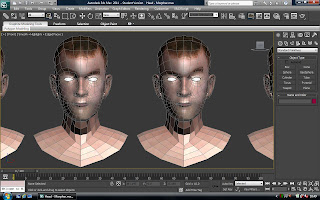
With each of these expressions applied to the model using the morpher modifier they can be used to to adjust the expressions of the face. Renders of the expression are shown below.
 |
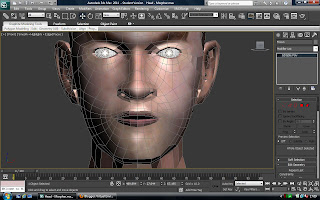
| Normal |
 |
| Smile |
 |
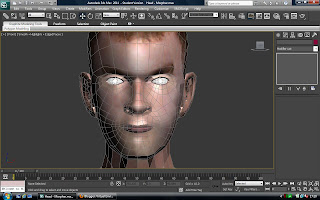
| Eyes closed |
 |
| Frown |
 |
| Brows down |
 |
| Bottom lip down |
|
 |
| Top lip up |
 |
| Mouth open |
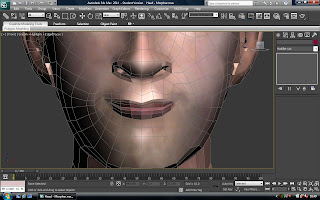
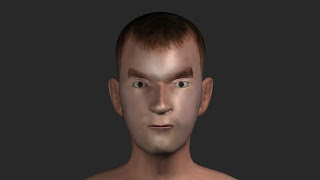
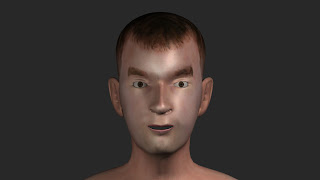
The different expression can be combined together using the morpher to create complex expressions. Here the brows down expression and frown are applied together.
Different morphs could be created for the different phonemes and then these could be used create lip sync animation.