When I opened the material editor (m) I found that the slate material editor was being used.
 |
| Slate material editor |
 |
| Compact material editor |
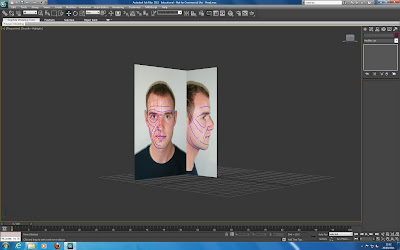
Next I duplicated the plane by holding shift and using the rotation tool. I then adjusted the image on the plane to show the side view of the head, I clicked the flip checkbox in the UVW map modifier to get the image facing the right way.
I positioned the planes so that they were close together but not overlapping. The bitmap image quality in viewports was not high enough so the reference plates were hard to see. I fixed this by going to Customise > Preferences > Viewports > Display Drivers > Configure Driver and then checking match bitmap as closely as possible.
This step was quite straight forward as it was the same way that we were taught to set up reference plates for tank model last year for 3d Modelling and Animation. I also used this method when modelling the objects for the James Bond animation I created.

No comments:
Post a Comment