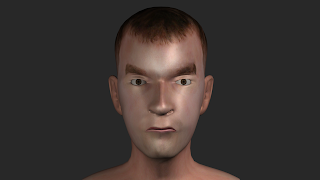
Using autokey the settings for each of the morph target could be animated.Using the dope sheet gave more control than just the timeline as it made it easier to see which keys were set for each morph.
 | |
| Dope sheet |
 |
| All keys in place |
Smile
I closed the eyes a little bit to that they were not so wide and moved the slide for the smile morph so that it was 100%.
Surprise
I closed slightly more before this expression to create more anticipation for the movement. I then opened the eyes fully along with the mouth and raised the left and right eye brow. I moved the top lip up slightly to improve the shape of the mouth.
Frown
I kept the eyes a little bit closed and moved the slider for the frown morph to 100%. I also used the brows down morph as well.
Wink
I set the smile slider to 100% and eye closed one of the eyes briefly.
Blink
For the blink I closed both the eyes close at same time for a short amount of frame.
Curve editor
Once the keys were set for the animation I used the curve editor to adjust the tangents to speed or slow the animation.
 |
| Curve editor |
 |
| Blink curve |
 |
| Mouth open curve |
Having animated this section I have seen that some of the morph targets that I have created could be made to be moved more as the 100% full movement is still very slight when applied to the head.
The rendered animation is 14 seconds and can be seen above. The video is low quality when uploaded to blogger but allows the animation to be seen.


No comments:
Post a Comment