
Clicking update selection updates the hair to this selection.

Rendering the hair now shows that it needs to be styled and the colour changed.

Using the tools for the hair modifier the hair can be cutand styled. Selecting the style hair button allows the tools to be used. I used the cut tool to make the hair shorter.

Next I used the hair brush tool to style the hair. This proved quite difficult as it was hard to get the hair to flow correctly.

Rendering now resulted in the image below. But the hair is too light even when using a dark colour and not thick enough towards the front.
 |
| First attempt |
I tried to apply the hair with the turbosmooth turned of but this didn't work as when it was turned back on the hair was place in the wrong place.

The hair again was too light gain but this time I found what the problem was. I as the mental ray rendering engine was being used I needed to change the hair rendering options to MR Prim. This converts the hair into geometry during render time.
 |
| Hair too light and thin |
This took longer to render but the results were looking better but the hair was still the wrong color.
 |
| Hair with MR Prim |

There are no mental ray hair shaders in 3ds max so I just used a standard material with with a gradient ramp in the diffuse material slot. I set the ramp between two colours so that the hair had a gradient applied to it so that all the hair didn't look the same colour.
Once this shader is used all of the colour settings are controlled in this material and no longer in the hair modifier.
A mental ray hair shader could be used as this would help to create a better hair effect.
I left the count at 15000 and set the cut length of the hair to 12 to make it shorter. I selected style hair and then clicked recomb hair to comb the hair in line with the surface of the head. As the hair was quite short this worked quite well so the hair did not need much combing.

I then increased the count under the multi strand parameters to create child hairs that would increase the amount of hairs and increase the thickness of the hair.
Multi strand renders a clump of hairs around the original hair. I increased the count to 5, root splay to 0.1, tip splay to 0.2 and the randomise value to 0.2. The splay settings determine how much the hair scatters. The randomise determines how random the hairs are in the clump.
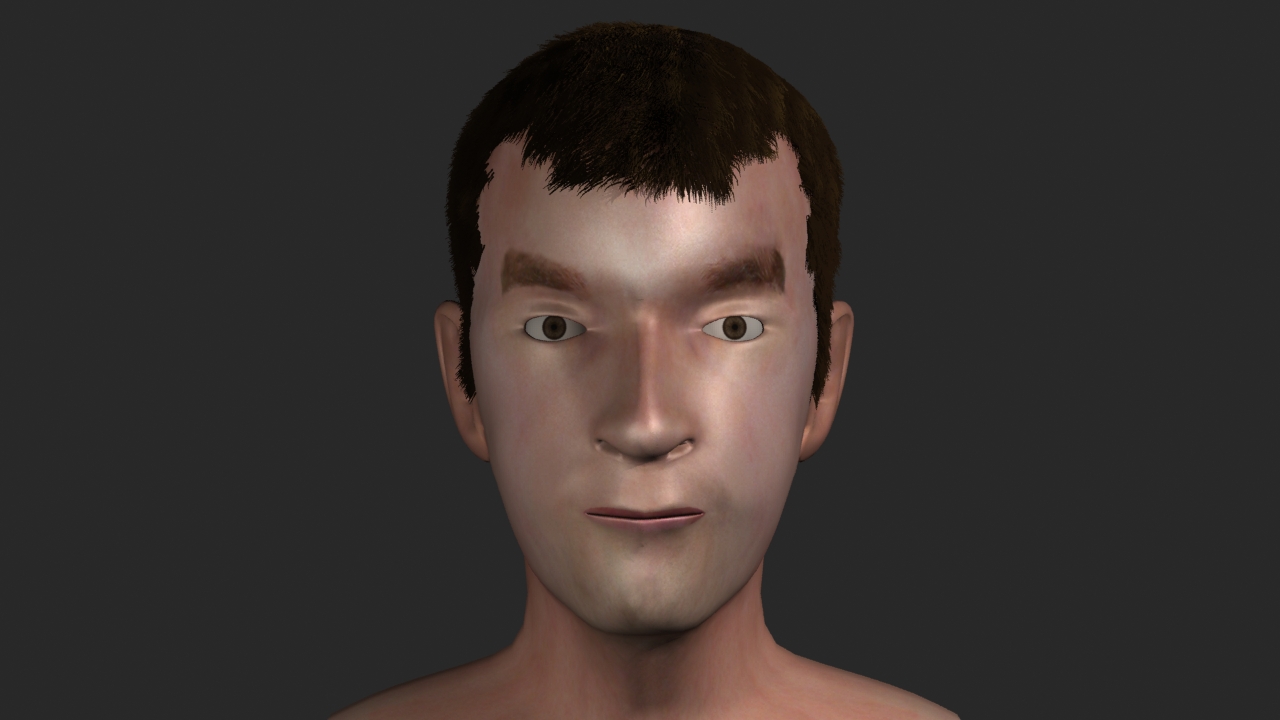 |
| New version |
More time could be spent on the sytling of the hair and the material that is applied to it.
No comments:
Post a Comment