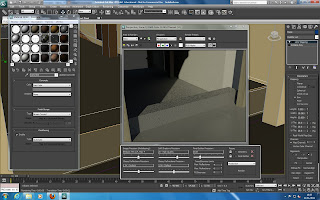
I added a daylight system to the scene, set it to use mr sky and sun, and adjusted the time and location so that the scene was well lit. This add some realism to the scene and having done this the renders of the model looked much better.
For the guildhall material I used a white material and added a noise material to the bump channel to add a slight texture to the guildhall walls. I adjusted the settings for the bump map so that it only created small bumps on the model. This can be seen in the window render below.
To texture the windows I used some materials from the Autodesk material library. I used a glass for the planes and Aluminium metal for the the frames.
I also created the stairs for the model by selecting stairs option from the drop down from the create tab. I used U and L type stair for the various different stairs in the guildhall. It was hard to get them right so that they would fit into the correct place.
I cut holes in the floors that I had created for the stairs and lift. I took the planes with shell modifier applied and split them into two planes one for the ceiling and one for the floor of the room above and then textured these.
To create the floor texture I followed a tutorial. I added a tiles material to the diffuse slot in the material and adjusted the settings for the tile material so that they looked more like planks of wood than tiles. I adjusted the settings for the rows and columns and applied a wood material to the texture for the tile to create the colour for the wooden floor. For the wood material I changed the map channel to 2. I applied two uvw map modifiers to the floor and changed one of then to also have a map channel of 2, allowing the mapping for the tiles material and the wood material to be adjusted separately.
Tutorial for flooring: http://www.creativecrash.com/3dsmax/tutorials/materials-and-texturing/c/customizing-your-wood-floor-parquet-material-
To texture the beams I created a brown material and then used a image texture of wood to create the bump mapping for the beams.
I added an autodesk concrete material to the steps and adjusted the tiling so that it was the right scale.
I modelled the glazed walkway using the reference planes and then used glass material and a plastic material to texture this section.
I created the brick section at the bottom of the guildhall by using a mulit/sub-object material. I applied the guildhall material created earlier and applied a brick material to the second. I selected the polygons where the brick texture needed to be applied to and set them to a material id of 2.
I modelled the kerb for the road and the sunken path on the ground plane and textured this in the same way using different material ids for each material.
 |
| Church side |
 |
| Road side |


No comments:
Post a Comment